参考文章:
https://blog.csdn.net/qianghaohao/article/details/79440961
https://www.jianshu.com/p/9c3439cc3bdb
https://www.jianshu.com/p/d194d29e488c?open_source=weibo_search
https://www.jianshu.com/p/a78845c3f476
首先我们看一下最终效果
一、下载iTerm2
官网下载地址:https://www.iterm2.com/
二、安装zsh
zsh一般Mac已经自带了,无需额外安装。可以用cat /etc/shells查看zsh是否安装,如果列出了/bin/zsh则表明zsh已经安装了。
接下来修改iTerm2终端的默认Shell,可以用echo $SHELL查看当前Shell是什么,如果不是/bin/zsh则用如下命令修改iTerm2的默认Shell为zsh1
chsh -s /bin/bash
这个是默认的样子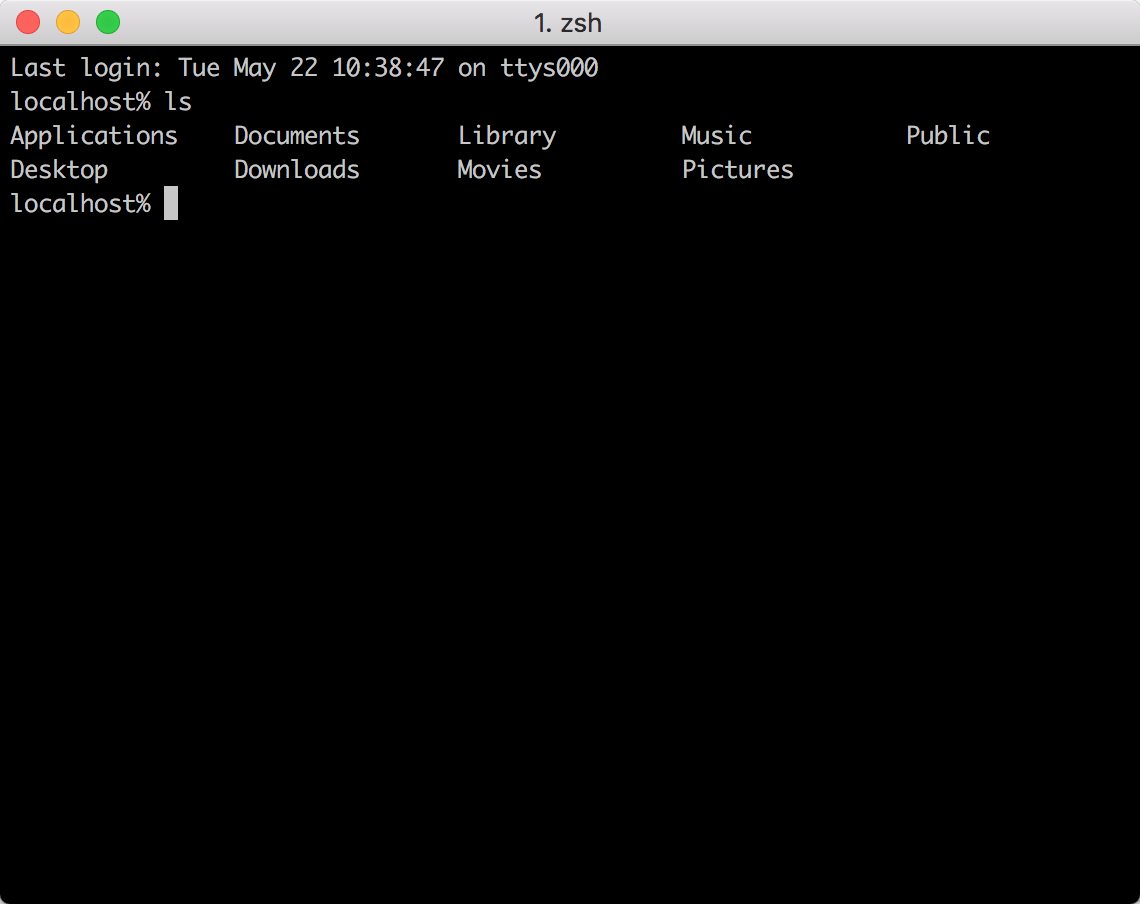
三、使用Oh my zsh
zsh的功能极其强大,只是配置过于复杂,起初只有极客才在用。后来,有个穷极无聊的程序员可能是实在看不下去广大猿友一直只能使用单调的bash, 于是他创建了一个名为oh-my-zsh的开源项目
1.安装Oh my zsh
1 | # curl 安装方式 |
1 | # wget 安装方式 |
在安装过程中我们发现总是出现无法下载instal.sh文件的情况,所以下面是install.sh文件的源码1
2
3
4
5
6
7
8
9
10
11
12
13
14
15
16
17
18
19
20
21
22
23
24
25
26
27
28
29
30
31
32
33
34
35
36
37
38
39
40
41
42
43
44
45
46
47
48
49
50
51
52
53
54
55
56
57
58
59
60
61
62
63
64
65
66
67
68
69
70
71
72
73
74
75
76
77
78
79
80
81
82
83
84
85
86
87
88
89
90
91
92
93
94
95
96
97
98
99
100
101
102
103
104
105
106
107
108
109
110
111
112
113
114
115main() {
# Use colors, but only if connected to a terminal, and that terminal
# supports them.
if which tput >/dev/null 2>&1; then
ncolors=$(tput colors)
fi
if [ -t 1 ] && [ -n "$ncolors" ] && [ "$ncolors" -ge 8 ]; then
RED="$(tput setaf 1)"
GREEN="$(tput setaf 2)"
YELLOW="$(tput setaf 3)"
BLUE="$(tput setaf 4)"
BOLD="$(tput bold)"
NORMAL="$(tput sgr0)"
else
RED=""
GREEN=""
YELLOW=""
BLUE=""
BOLD=""
NORMAL=""
fi
# Only enable exit-on-error after the non-critical colorization stuff,
# which may fail on systems lacking tput or terminfo
set -e
CHECK_ZSH_INSTALLED=$(grep /zsh$ /etc/shells | wc -l)
if [ ! $CHECK_ZSH_INSTALLED -ge 1 ]; then
printf "${YELLOW}Zsh is not installed!${NORMAL} Please install zsh first!\n"
exit
fi
unset CHECK_ZSH_INSTALLED
if [ ! -n "$ZSH" ]; then
ZSH=~/.oh-my-zsh
fi
if [ -d "$ZSH" ]; then
printf "${YELLOW}You already have Oh My Zsh installed.${NORMAL}\n"
printf "You'll need to remove $ZSH if you want to re-install.\n"
exit
fi
# Prevent the cloned repository from having insecure permissions. Failing to do
# so causes compinit() calls to fail with "command not found: compdef" errors
# for users with insecure umasks (e.g., "002", allowing group writability). Note
# that this will be ignored under Cygwin by default, as Windows ACLs take
# precedence over umasks except for filesystems mounted with option "noacl".
umask g-w,o-w
printf "${BLUE}Cloning Oh My Zsh...${NORMAL}\n"
hash git >/dev/null 2>&1 || {
echo "Error: git is not installed"
exit 1
}
# The Windows (MSYS) Git is not compatible with normal use on cygwin
if [ "$OSTYPE" = cygwin ]; then
if git --version | grep msysgit > /dev/null; then
echo "Error: Windows/MSYS Git is not supported on Cygwin"
echo "Error: Make sure the Cygwin git package is installed and is first on the path"
exit 1
fi
fi
env git clone --depth=1 https://github.com/robbyrussell/oh-my-zsh.git $ZSH || {
printf "Error: git clone of oh-my-zsh repo failed\n"
exit 1
}
printf "${BLUE}Looking for an existing zsh config...${NORMAL}\n"
if [ -f ~/.zshrc ] || [ -h ~/.zshrc ]; then
printf "${YELLOW}Found ~/.zshrc.${NORMAL} ${GREEN}Backing up to ~/.zshrc.pre-oh-my-zsh${NORMAL}\n";
mv ~/.zshrc ~/.zshrc.pre-oh-my-zsh;
fi
printf "${BLUE}Using the Oh My Zsh template file and adding it to ~/.zshrc${NORMAL}\n"
cp $ZSH/templates/zshrc.zsh-template ~/.zshrc
sed "/^export ZSH=/ c\\
export ZSH=$ZSH
" ~/.zshrc > ~/.zshrc-omztemp
mv -f ~/.zshrc-omztemp ~/.zshrc
# If this user's login shell is not already "zsh", attempt to switch.
TEST_CURRENT_SHELL=$(expr "$SHELL" : '.*/\(.*\)')
if [ "$TEST_CURRENT_SHELL" != "zsh" ]; then
# If this platform provides a "chsh" command (not Cygwin), do it, man!
if hash chsh >/dev/null 2>&1; then
printf "${BLUE}Time to change your default shell to zsh!${NORMAL}\n"
chsh -s $(grep /zsh$ /etc/shells | tail -1)
# Else, suggest the user do so manually.
else
printf "I can't change your shell automatically because this system does not have chsh.\n"
printf "${BLUE}Please manually change your default shell to zsh!${NORMAL}\n"
fi
fi
printf "${GREEN}"
echo ' __ __ '
echo ' ____ / /_ ____ ___ __ __ ____ _____/ /_ '
echo ' / __ \/ __ \ / __ `__ \/ / / / /_ / / ___/ __ \ '
echo '/ /_/ / / / / / / / / / / /_/ / / /_(__ ) / / / '
echo '\____/_/ /_/ /_/ /_/ /_/\__, / /___/____/_/ /_/ '
echo ' /____/ ....is now installed!'
echo ''
echo ''
echo 'Please look over the ~/.zshrc file to select plugins, themes, and options.'
echo ''
echo 'p.s. Follow us at https://twitter.com/ohmyzsh.'
echo ''
echo 'p.p.s. Get stickers and t-shirts at https://shop.planetargon.com.'
echo ''
printf "${NORMAL}"
env zsh
}
main
之后执行1
sh -c "$(curl -fsSL install.sh)"
2.修改主题
下面我们进行主题修改,主题简介链接:https://github.com/robbyrussell/oh-my-zsh/wiki/themes
(1)打开配置文件
1 | vi ~/.zshrc |
(2)主题换成自己喜爱的主题
1 | ZSH_THEME="agnoster" |
(3)更新配置
1 | source ~/.zshrc |
四、安装PowerFonts字体
有的同学会发现,执行完上一步后,使用可能会出现乱码,这是因为我们缺少PowerFonts字体
安装字体库需要首先将项目clone至本地,然后执行源码中的install.sh。1
2
3git clone git@github.com:powerline/fonts.git
cd fonts
./install.sh
安装好字体库之后,我们来设置iTerm2的字体,具体的操作是iTerm2 -> Preferences -> Profiles -> Text,在Font区域选中Change Font,然后找到Roboto Mono for Powerline字体。
五、安装配色方案
配色链接:https://github.com/mbadolato/iTerm2-Color-Schemes
配色方案在使用VIM或
Colorful Log时会变得非常有用,同时界面也不会一片黑绿一样死板。
1.git clone的方式下载源码进行安装:
1 | cd ~/Desktop/OpenSource |
- 在打开的finder窗口中,双击
Solarized Dark.itermcolors和Solarized Light.itermcolors安装明暗两种配色 - 进入
iTerm2 -> Preferences -> Profiles -> Colors -> Color Presets - 根据个人喜好选择
solarized dark和solarized light两种配色中的一种即可。
2.手动安装
但是下面这个是我最喜欢的配色
将该配色方案文件(Solarized Dark Higher Contrast.itermcolors)复制出来,保存到本地,文件命名为 SolarizedDarkHigherContrast.itermcolors,然后双击即可安装。
六、增加高亮
这是oh my zsh的一个插件,安装方式与theme大同小异:1
2
3cd ~/.oh-my-zsh/custom/plugins/
git clone https://github.com/zsh-users/zsh-syntax-highlighting.git
vi ~/.zshrc
1.添加plugins
这时我们再次打开zshrc文件进行编辑。找到plugins,此时plugins中应该已经有了git,我们需要把高亮插件也加上:1
plugins=(git)
1 | plugins=( |
请务必保证插件顺序,zsh-syntax-highlighting必须在最后一个。
2.文件的最后一行添加
1 | source ~/.oh-my-zsh/custom/plugins/zsh-syntax-highlighting/zsh-syntax-highlighting.zsh |
3.修改生效:
1 | source ~/.zshrc |
七、安装命令补全
跟代码高亮的安装方式一样,这也是一个zsh的插件,叫做zsh-autosuggestion,用于命令建议和补全。1
2
3cd ~/.oh-my-zsh/custom/plugins/
git clone https://github.com/zsh-users/zsh-autosuggestions
vi ~/.zshrc
之后将插件加入zsh配置与上一个一致